
Last updated November 18, 2026
 Architectural shingles
 Metal roofing
 Tile roofing
 GAF
 Owens Corning
 Flat & low-slope
Free roof inspection with deck photos before we talk money - GAF and Owens Corning certified installation
Roof Repair Maintenance Checklist for Summerlin Homeowners
The number-one repair we do on Summerlin homes isn’t storm damage. It’s cracked pipe-boot sealant that baked off silently over two summers while the homeowner had no idea water was wicking into the decking. By the time a stain showed up on a ceiling in The Trails, the sheathing underneath had been wet long enough to soften. That’s the thing about a desert roof: nothing dramatic announces the failure. The sun just quietly takes it apart, one seam at a time. This checklist is calibrated to what actually breaks on a Summerlin roof across a twelve-month desert cycle, not to the ice-dam advice you’ll find on Minnesota roofing sites.
Quick Answer
A Summerlin roof needs three scheduled inspections a year: pre-monsoon in May to seal flashings and clear drains, post-monsoon in October to catch wind and water damage, and a mid-winter wind check in January. In between, walk the perimeter monthly with binoculars and photograph anything that looks off. UV degradation at Summerlin’s elevation, not rain, is the leading cause of roof failure here.
Styles & brands we work with
- Architectural shingles
- Metal roofing
- Tile roofing
- GAF
- Owens Corning
- Flat & low-slope
Table of Contents
- Why a Desert Roof Fails Differently Than You’d Expect
- The Sealant and Flashing Points That Fail First
- Your Month-by-Month Summerlin Roof Calendar
- Ground Inspection vs. Roof Inspection: Where the Line Is
- How to Document Roof Condition (And Why It Saves Insurance Fights)
- Five Tile Conditions That Mean the Mortar Bed Is Failing
- Common Mistakes to Avoid
- When to Call a Professional
Why a Desert Roof Fails Differently Than You’d Expect
Summerlin sits at roughly 3,000 feet in the Mojave, and that elevation matters more than most homeowners realize. Every 1,000 feet of elevation adds about 5 to 6 percent to the UV dose a roof surface takes compared to sea level. Combine that with 290-plus sunny days a year and summer highs that push past 110, and the rubber, caulk, and plastic components on a roof age at roughly twice the rate they would in a coastal climate. The asphalt shingle wrapper doesn’t lie about that, but it doesn’t warn you either.
The practical result is that the parts of your roof that rely on flexible materials fail first. Pipe boots, the neoprene collars around plumbing vents, are the classic example. Around here we expect a standard neoprene boot to last about 8 to 12 years before the rubber cracks. On a south-facing roof plane, we’ve pulled off boots at 6 years with a visible split you could push a pencil through. The shingles around it looked fine. That boot was the leak.
Thermal cycling does the rest. Summerlin roof surfaces can swing from a 160-degree deck in July afternoon to a 70-degree night, and that expansion and contraction works on every sealant joint and every tile mortar bed. Tile roofs crack along that stress. Flat roofs blister. Metal panels back out fasteners. If you’re weighing whether a repair or a full roof replacement in Summerlin makes sense, the honest answer usually comes down to how far the thermal damage has gone underneath.
This is why our technicians, who have up to 30 years of experience, approach a Summerlin roof differently than a roof in a wetter climate. We’re looking for sun damage before we’re looking for water damage. The water is usually the second thing to arrive.
The Sealant and Flashing Points That Fail First
Here’s the order of failure, ranked by how quietly each one leaks. The quieter the leak, the more damage it does before you notice.
- Pipe boots on the south and west roof planes. Nearly invisible from the ground once the rubber cracks. Water tracks down the pipe and into the attic, often showing up as a stain two rooms away from the actual failure.
- Step flashing where a wall meets the roof slope. The sealant bead along the top edge of the step flashing cooks off first, then the flashing lifts. Leaks behind the wall siding start here and stay hidden the longest.
- Counter-flashing at chimneys. The reglet seal, where the metal tucks into the chimney mortar, fails quietly. You won’t see it until the brick spalls or a ceiling stain shows up.
- Valley sealant and valley metal laps. These get the heaviest water volume of any point on the roof. A failed lap lets monsoon water wick sideways under shingle courses.
- Skylight curbs. The seal between the curb and the roof, plus the glass seal around the frame, fails on a 10-to-15-year cycle in this climate.
- Drip edge and fascia joints. Less a leak point than a path for wind-driven monsoon rain to get behind the fascia board.
We see every one of those on a regular basis in Summerlin, and the pattern is consistent. The sun reaches them months before the rain tests them. Any of them can go from “sealed” to “leaking” between one annual inspection and the next, which is why we recommend a look at each one right before monsoon season. Our team handles these points as routine work on our roof repair in Summerlin jobs, but the visit that catches them early is always cheaper than the one that finds the rot.
Your Month-by-Month Summerlin Roof Calendar
Timing matters more here than in most climates because the seasons do two different jobs. The dry months cook the roof. The monsoon tests what the cooking already broke. Your calendar should follow that rhythm.
- January: mid-winter wind check. Summerlin gets its strongest wind events in winter. Walk the perimeter and look for lifted or creased shingles, missing ridge caps, and debris driven into valleys. Photograph anything loose. Cold is a non-issue here, wind is not.
- February-March: gutter and drain clearing. Get the debris out before the spring. If you have a flat or low-slope section, make sure the drains and scuppers are clear now, not in July.
- April: pre-season sealant touch-up. This is the right window for caulk and sealant work at flashing points, because the surface is warm enough to cure but not so hot it flashes off. Our crew prefers April for anything involving sealants.
- May: the big pre-monsoon inspection. Do this one properly. Seal all the failure points from the previous section, confirm every boot is intact, and clear anything the monsoon could push against a wall. This is the inspection that prevents the summer leak.
- June-September: hands-off, watch from the ground. Don’t walk on the roof in peak heat. It’s dangerous and it can damage the surface. Watch from the ground after each monsoon storm and note anything new.
- October: post-monsoon inspection. Catch wind-lifted shingles, blown-off ridge caps, debris in valleys, and any water that got in during the summer. This is the second critical inspection of the year.
- November-December: winter prep. Clean gutters one last time and confirm downspouts run. Confirm attic ventilation is clear, since a hot attic in a well-sealed Summerlin home can hit 150 degrees and cook the roof from the underside.
The two that matter most are May and October. Skip the rest and you’ll still be ahead of the curve. Skip those two and summerlin monsoon season will find every soft sealant on the roof.
Ground Inspection vs. Roof Inspection: Where the Line Is
A good set of binoculars and a careful walk around the house will catch a lot, and it’s the safest thing a homeowner can do. From the ground you can see:
- Missing, lifted, or creased shingles on a pitched roof
- Visible cracks in tile, or tile that has slid out of line
- Gutter that’s pulling away or overflowing in the wrong place
- Discolored or blistered flat-roof membrane
- Water stains or rust streaks on fascia, siding, or soffit
- Debris dams in valleys and against walls
- Anything on the roof ridge that looks out of line
What binoculars will not tell you is whether a pipe boot is cracked, whether a step flashing bead has failed, or whether the decking is soft. Those all require boots on the roof, and in Summerlin that’s a real safety line. Summer roof surfaces reach 160 degrees or more, and a fall from an attic-access roof height is a serious injury. We don’t recommend homeowners walk their own roofs, period, and we especially don’t in June through September.
The line is simple: ground inspection is a habit you can build and own. Roof-level inspection belongs to someone with fall protection, a proper ladder setup, and a working knowledge of what a failing flashing actually looks like. On this roof, the line isn’t about caution for its own sake. It’s about the fact that the heat makes the roof a genuinely dangerous surface for most of the year.
How to Document Roof Condition (And Why It Saves Insurance Fights)
Here’s a habit that will save you real money if you ever file a claim: date-stamped photographs of your roof, tied to your permit history, updated at every inspection. Most of the claims we see go sideways in Summerlin don’t go sideways because the damage isn’t real. They go sideways because nobody can prove when it started.
An insurance adjuster’s first question after a monsoon leak is whether the roof was in good condition before the storm. If you can hand them a photo dated three weeks before the event showing an intact flashing at that exact location, the claim conversation changes completely. If you can’t, the adjuster is going to argue the failure was pre-existing deterioration and outside coverage. That’s the fight a dated photo file prevents.
Here’s how to build the file:
- Photograph the whole roof at each May and October inspection. Overview shots plus close-ups of each flashing point, valve, and vent. Phone camera is fine.
- Use a date-stamped camera or note the date in the file. Most phones will put location and time on the image metadata. Confirm GPS is on and the location shows Summerlin, not a neighboring town.
- Store the files alongside your permits. Any roof permit pulled on the house goes in the same digital folder. When you sell or file, it’s one place to look.
- Keep your repair receipts and warranty paperwork in the same folder. We hand every Summerlin homeowner a written record of work completed for exactly this reason.
- Note storm events. After a notable monsoon, jot the date and drop a few post-storm photos in the file.
It’s ten minutes twice a year. It cuts a lot of insurance disputes before they start.
Five Tile Conditions That Mean the Mortar Bed Is Failing
Tile roofs are standard across much of Summerlin, and they’re genuinely long-lived. The weakness isn’t the tile. It’s the mortar bed underneath that holds the ridge and hip tiles, and the underlayment beneath the whole field. Both age out on a timeline the tile itself hides. These five conditions look minor from the ground but point to a failing bed:
- Hairline cracks along the ridge tiles. A crack in the mortar cap at the ridge is the first visible signal that the bed is losing its grip. Fine from the ground; obvious from the roof.
- Ridge tiles that have shifted out of line. If one ridge tile sits a quarter inch off from its neighbors, the mortar bond under it has already failed.
- Loose or missing hip tiles. Hips take more wind than ridges. A hip tile that’s lifted or gone is a direct path for monsoon water into the underlayment.
- White or chalky staining on the tile surface below the ridge. That’s mortar leaching out. It means water is moving through the bed.
- Visible underlayment at the eaves. If you can see the dark underlayment felt between the bottom row of tile and the fascia, wind has lifted enough tile or the bed has dropped enough to expose it.
Any one of these conditions warrants a roof-level inspection. Two or more, and you’re likely looking at a partial re-bed or underlayment replacement rather than a spot repair. For tile roofs in Summerlin, the underlayment is the real lifespan limiter, and it often fails a decade before the tile does. When a tile roof is beyond the repair stage, we walk homeowners through what a proper replacement with tile or with metal looks like, because the choice matters over a 40-year horizon.
Common Mistakes to Avoid
- Skipping the pre-monsoon sealant visit because the roof looks fine. It looks fine right up until the first real storm pushes water through a boot that’s been cracked since April. The May inspection is the one that pays for itself.
- Using a hose to test for leaks. Summerlin water is expensive and a hose test doesn’t replicate monsoon volume. It also puts water where it doesn’t belong and confuses the diagnosis. Let a proper inspection find the problem.
- Walking the roof in summer heat. The surface gets hot enough to damage shingles and dangerous enough to send a grown adult off the edge. Ground inspection is what you do; roof inspection is what we do.
- Calling the first storm chaser who shows up after a monsoon. Out-of-state crews follow the weather. A company with a local address you can look up, and a license number you can verify, is the one to call.
- Patching over cracked sealant instead of removing and replacing it. New caulk over old, failed caulk looks good for one season and fails faster than the original. The old sealant has to come out.
- Ignoring a small ceiling stain. By the time water makes it through the ceiling drywall, it has usually been moving through the roof and decking for weeks. The earlier you call, the smaller the repair.
- Not asking about the permit. Roof work on a Summerlin home often requires a permit, and unpermitted work creates problems at resale. Ask any roofer directly whether a permit will be pulled.
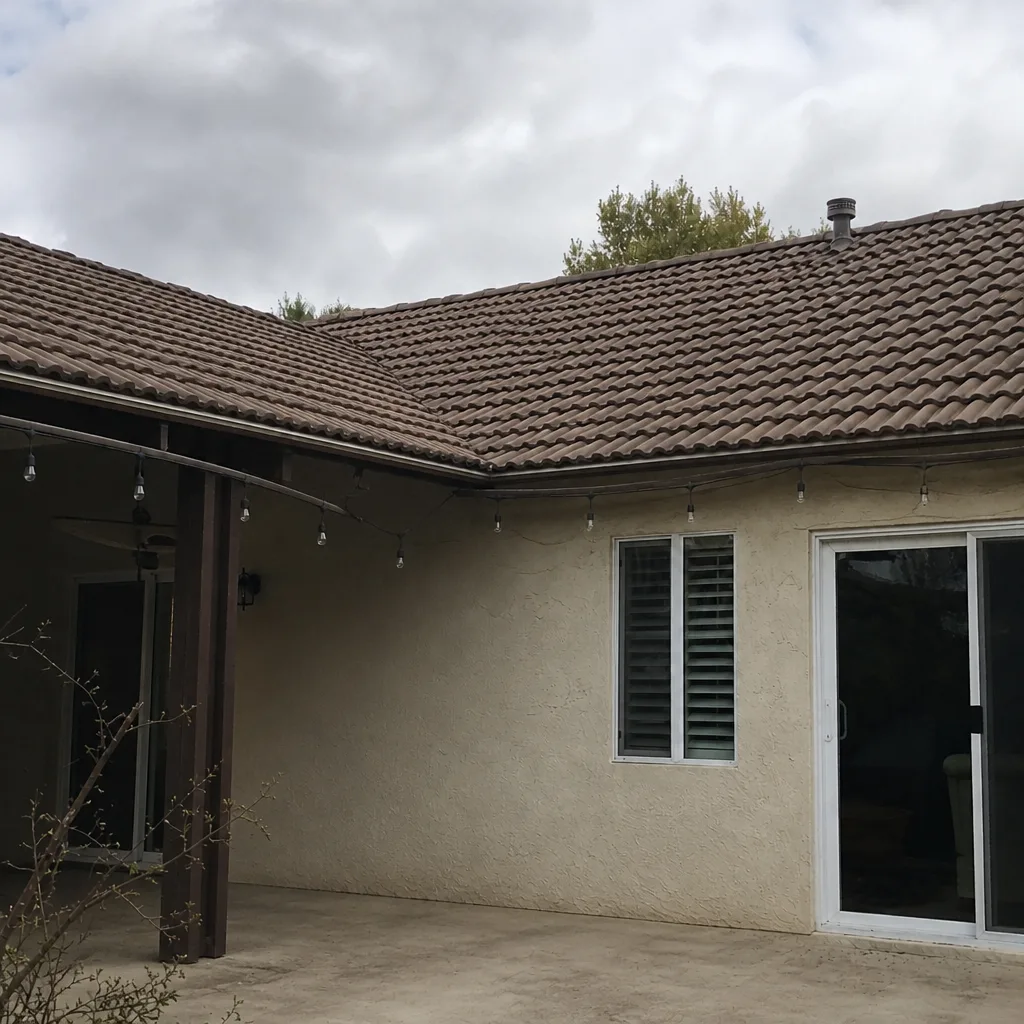
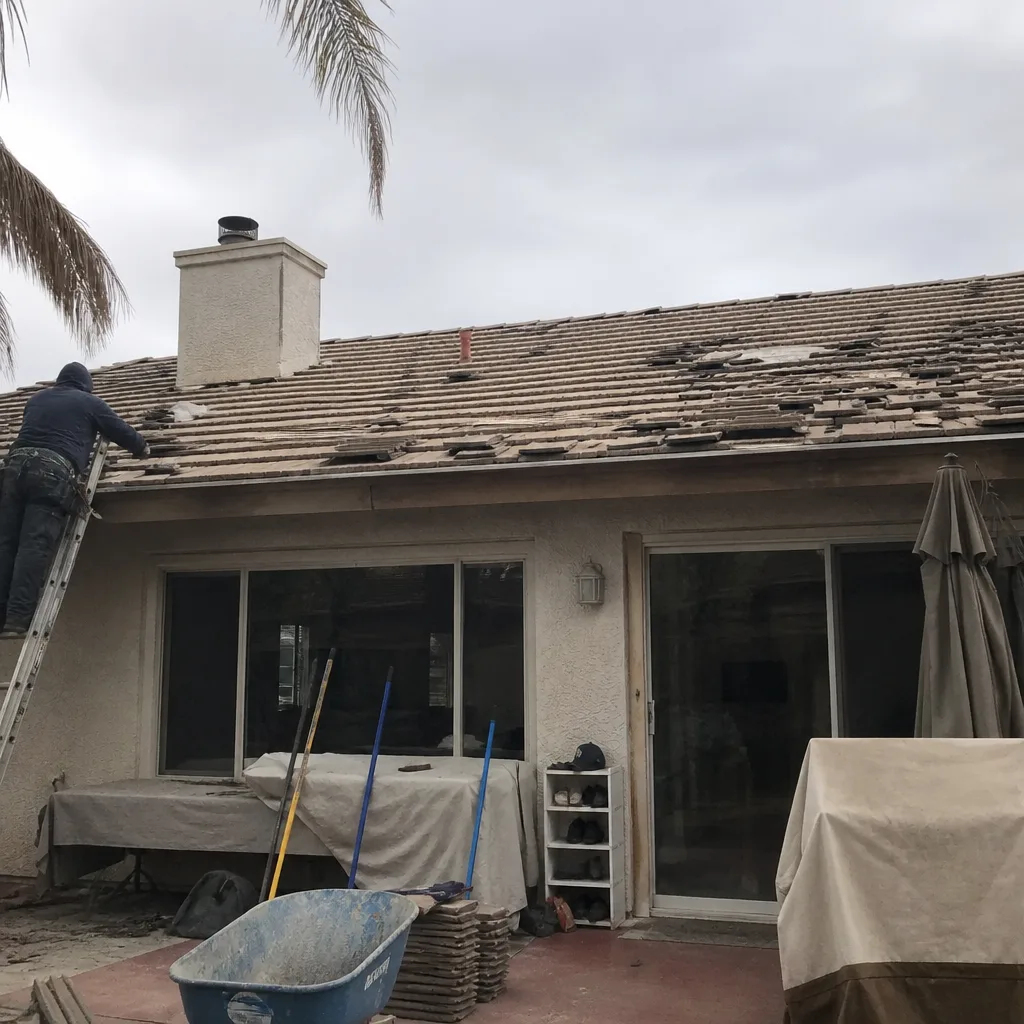
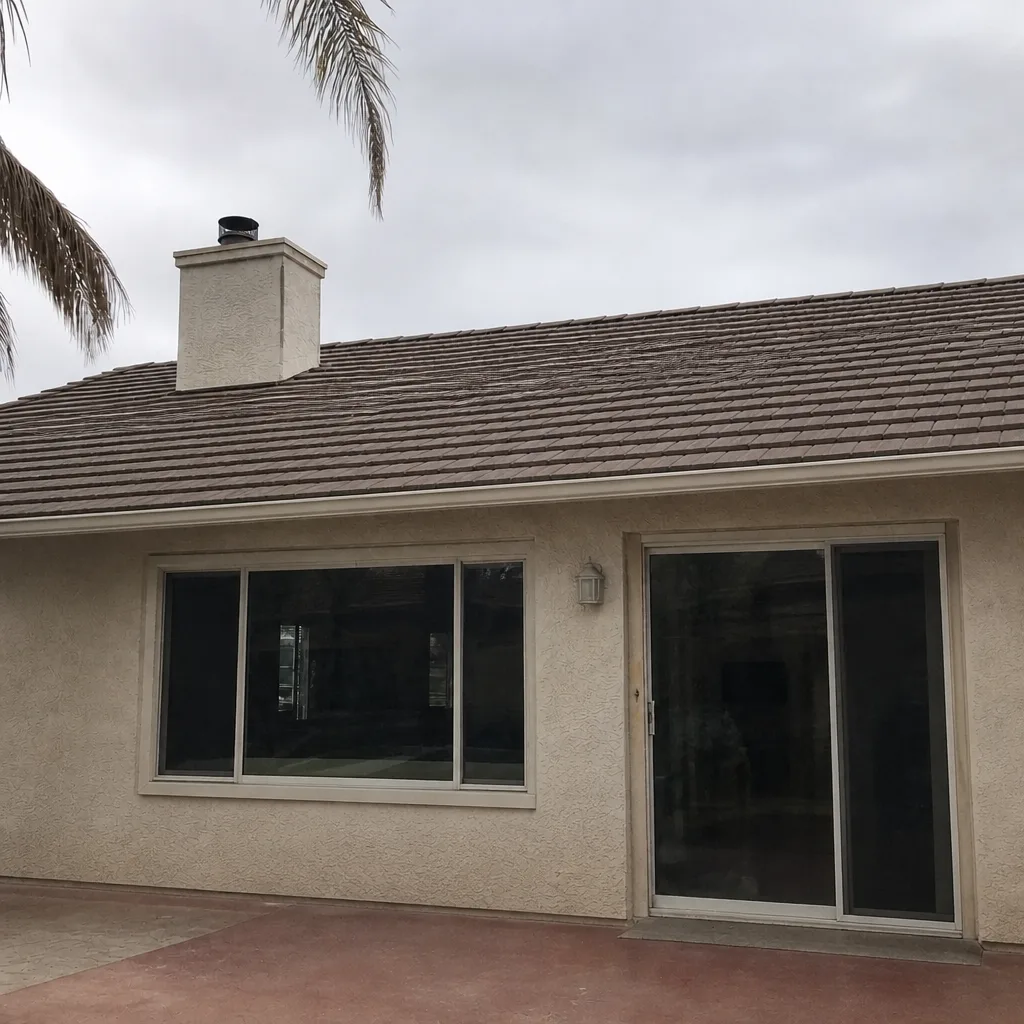
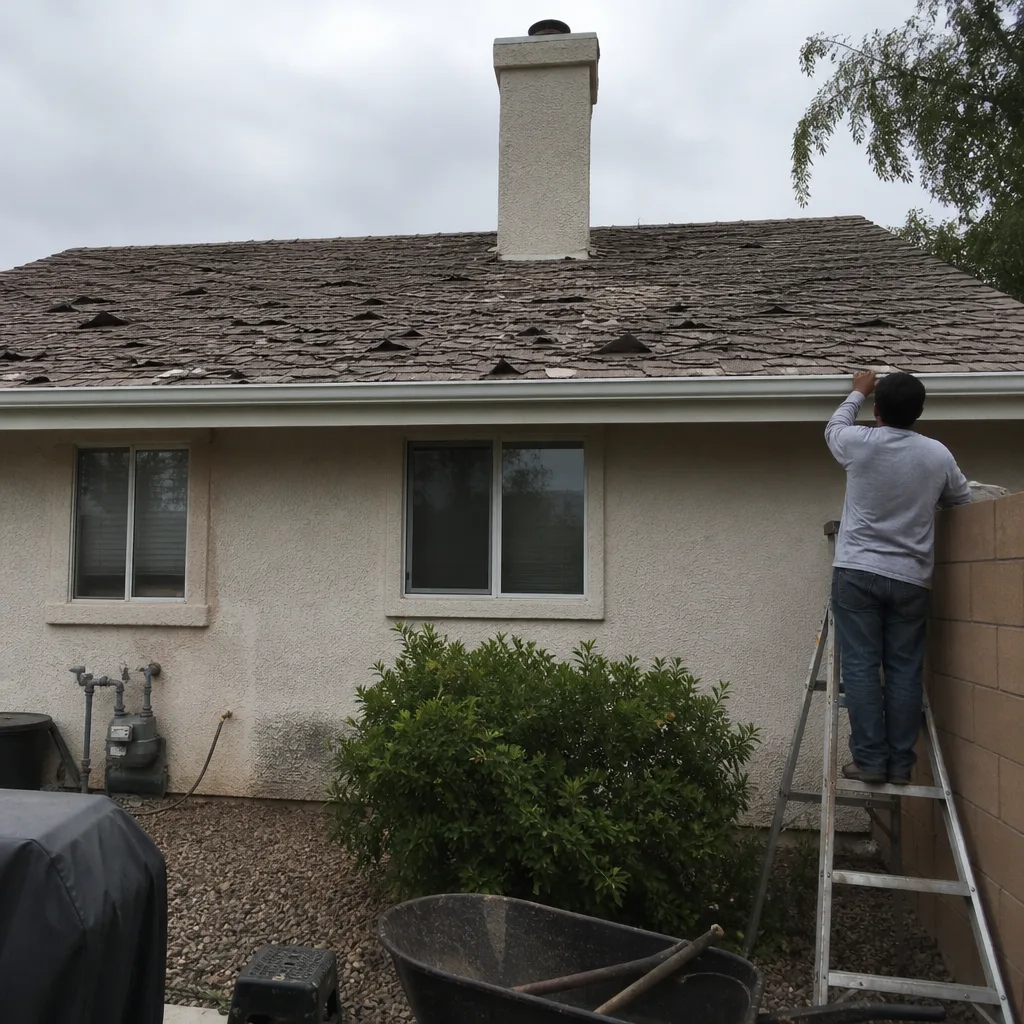
See the difference
 Before
 After
 Before
 After
 Before
 After
When to Call a Professional
Some of this checklist is yours to own. The rest belongs to someone with fall protection and a working knowledge of what a failing flashing looks like. Call us when you see a ceiling stain, when a monsoon storm has lifted shingles or thrown debris into a valley, when binoculars show cracked tile or a shifted ridge, or when your roof is more than 15 years old and hasn’t had a proper roof-level inspection this year. Also call if you’re simply not sure. We offer free estimates in Summerlin, and a second opinion never costs you anything. We’ll show you photos of what we find before we talk about money. Call (844) 951-4545 and a real person picks up, any hour.
Frequently Asked Questions
Most Summerlin roof repairs run $250 to $850 for a spot fix, with straightforward flashing or pipe-boot work typically landing under $500 and larger tile re-bed or underlayment work above that. A full replacement is a different number entirely and depends on square footage and material. Call (844) 951-4545 for an exact quote; estimates are free and we’ll show you the deck photos before we talk money.
Two to three times a year: pre-monsoon in May, post-monsoon in October, and a light mid-winter wind check in January. The May and October inspections are the ones that catch problems before they turn into ceiling stains. Between inspections, walk the perimeter once a month with binoculars and note anything new.
Yes. The tile itself holds up for decades in Summerlin, but the mortar bed under the ridge and hip tiles and the underlayment beneath the field both age out on a shorter timeline. Underlayment is usually the real lifespan limiter on a tile roof here, and it can fail a decade or more before the tile.
Not on our jobs. We give you a written, itemized quote before any work begins, and that’s the number you pay. No change orders unless you approve them, and every roofing job is backed by our written 90-Day Done Right Promise. Call (844) 951-4545 to schedule your free estimate.
Yes, when the work requires one. Permits protect you at resale, and unpermitted roof work creates real problems when you go to sell. Ask any roofer you’re considering whether they’ll pull the permit. We’ll tell you plainly.
Hairline cracks along the ridge tiles and white chalky staining below the ridge. Both point to a mortar bed that’s losing its grip. Neither is visible in detail from the ground, so a roof-level inspection is what confirms it. Call (844) 951-4545 and we’ll take a look.
The Bottom Line
Your Summerlin roof is being worked on by the sun long before any storm touches it. The three inspections that protect it are May, October, and January. The points that fail quietest are the pipe boots, the step flashings, and the counter-flashing at the chimney, so those are the first things we check. Keep a dated photo file tied to your permit history and you’ll save yourself an insurance fight later. And when something doesn’t look right, don’t patch it and hope. The small repair today is the one that keeps the decking dry.
If you’d like a second opinion on any written estimate, or a free inspection to start your own maintenance calendar, call Shepherd & Sons Roofing Summerlin at (844) 951-4545. A live person answers.
Written by the team at Shepherd & Sons Roofing Summerlin.