
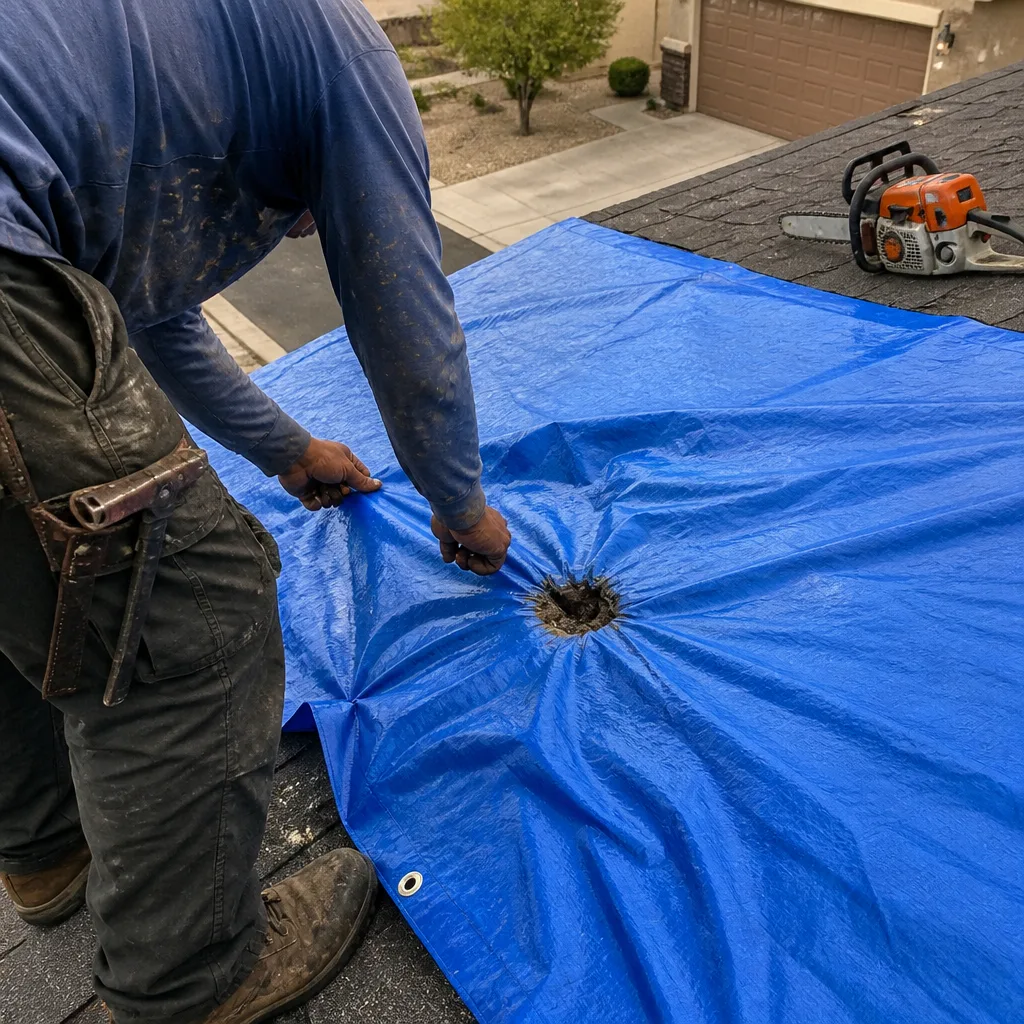
Last updated November 18, 2026
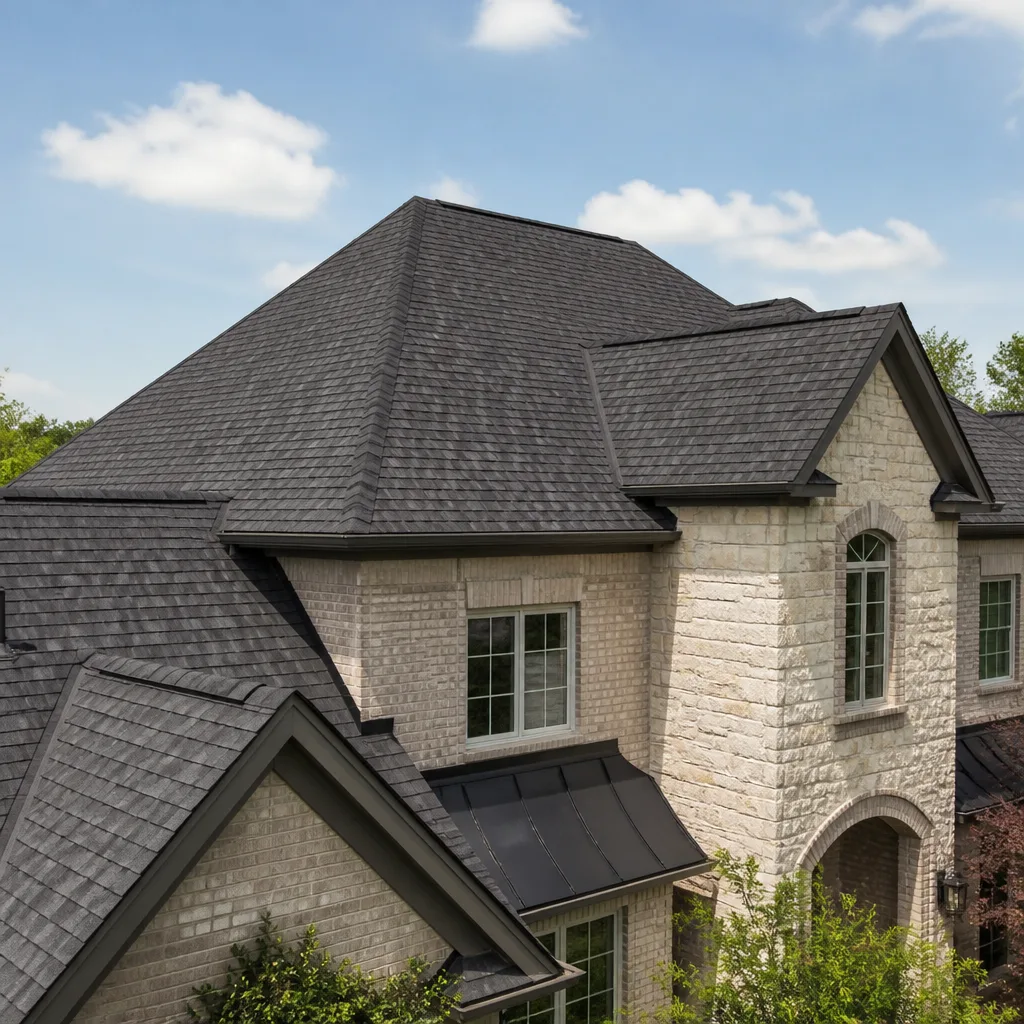 Architectural shingles
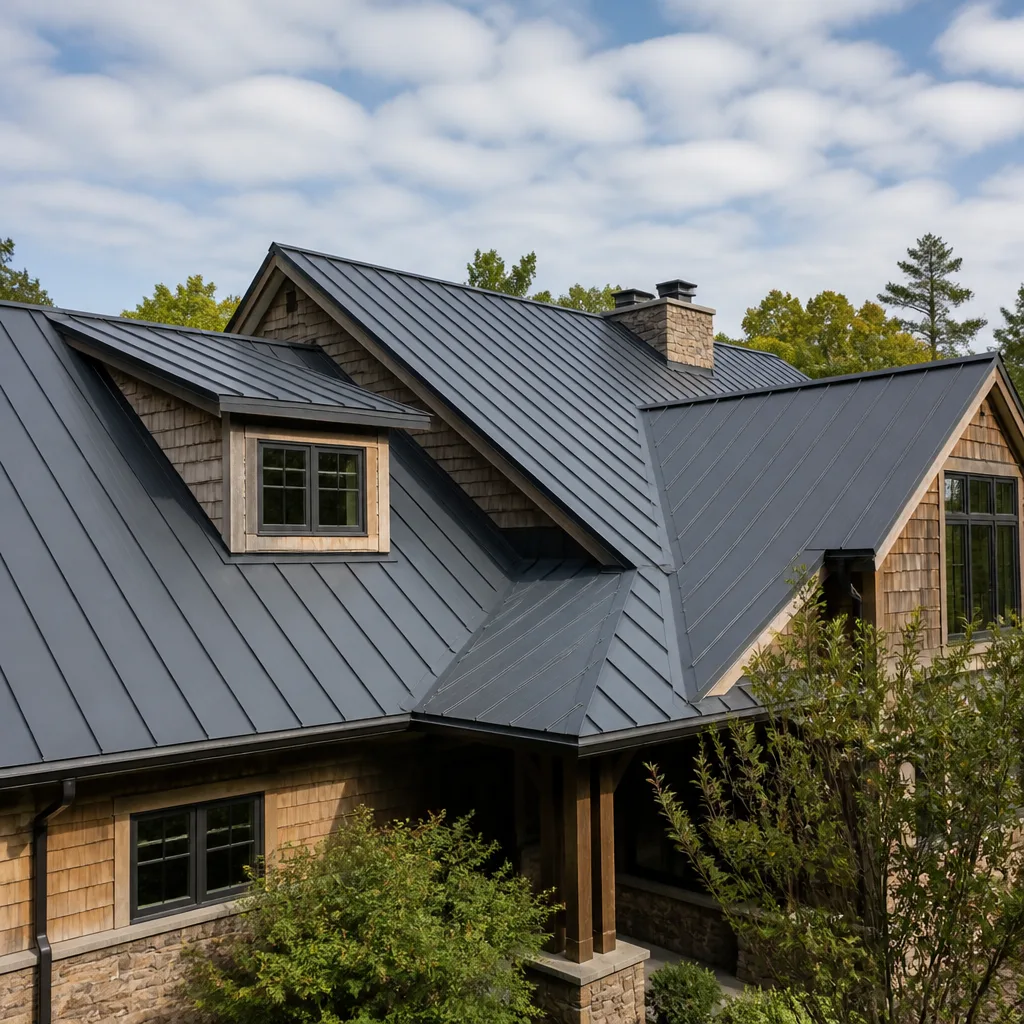 Metal roofing
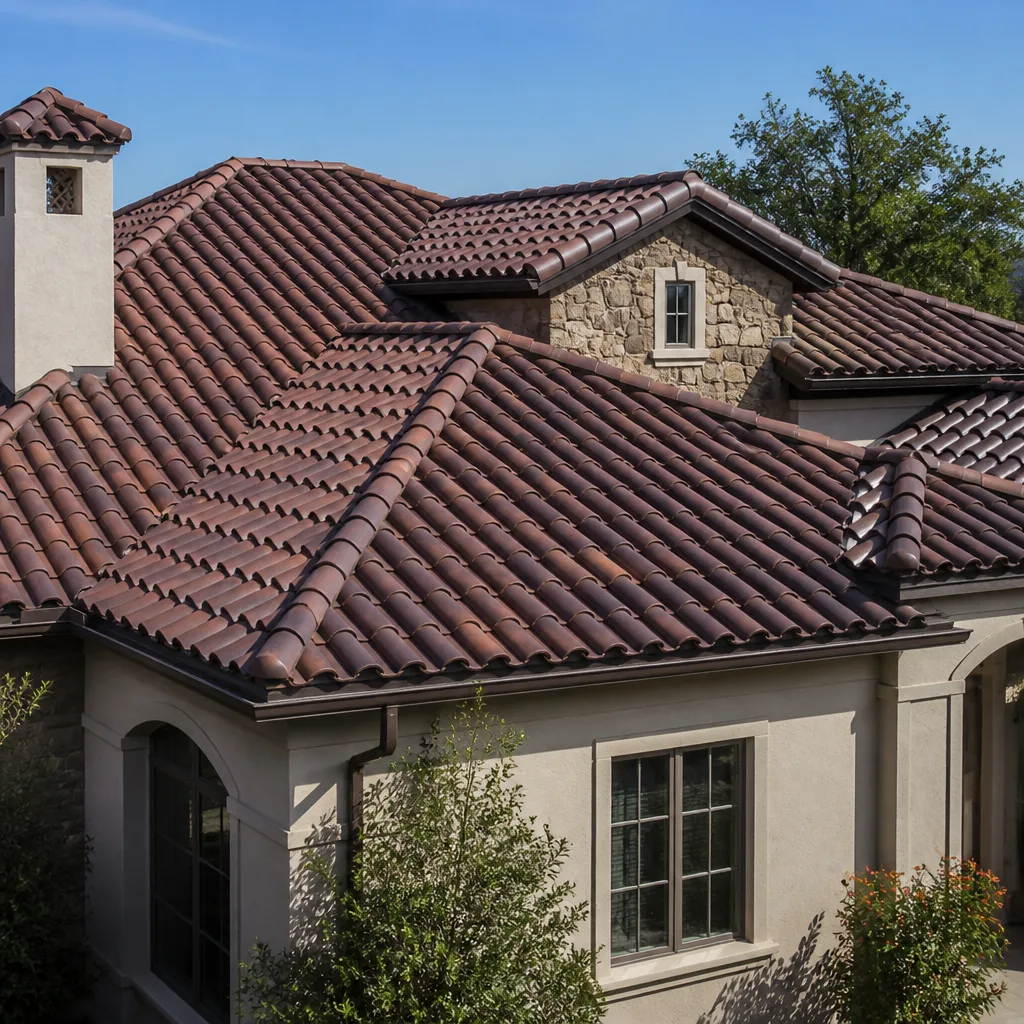 Tile roofing
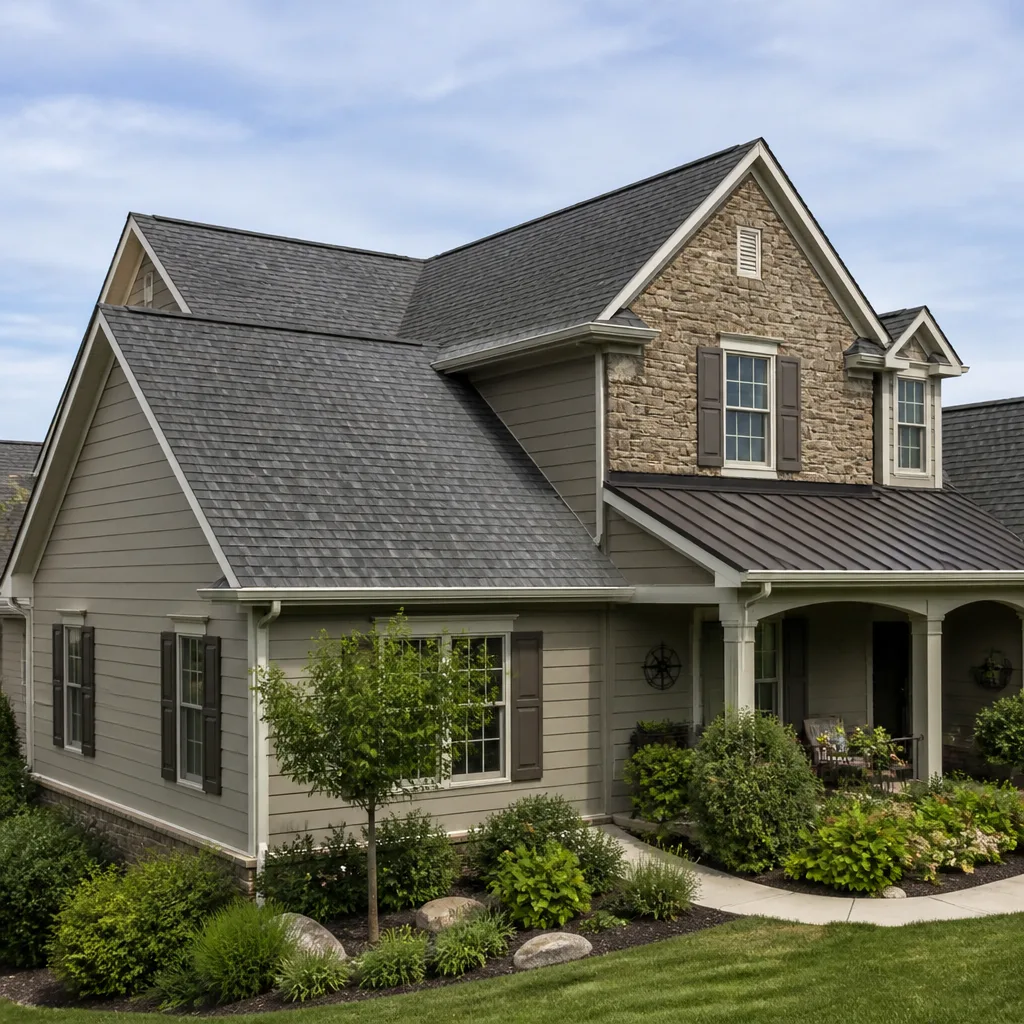 GAF
 Owens Corning
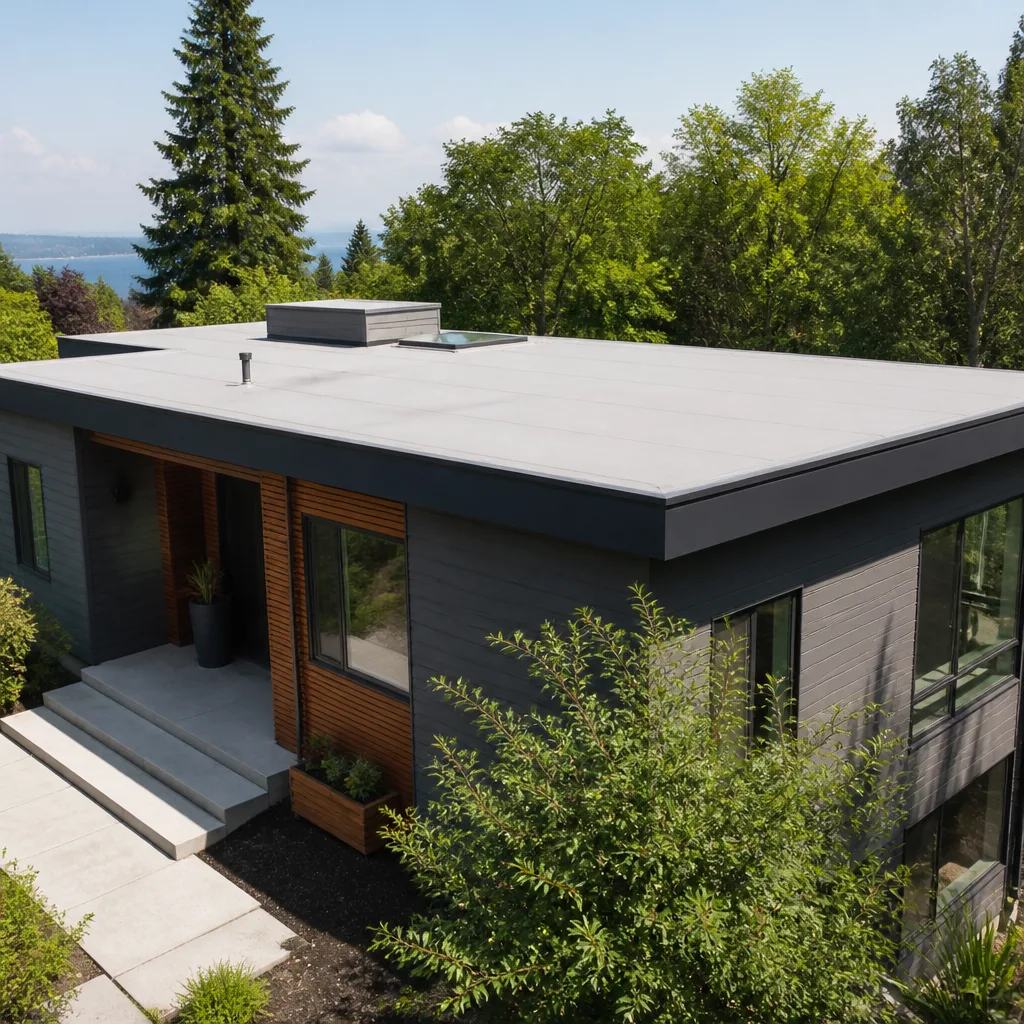 Flat & low-slope
Free roof inspection with deck photos before we talk money - GAF and Owens Corning certified installation
Roof Replacement & Installation Troubleshooting: Common Problems and How to Fix Them
The number-one call Bill gets about other companies’ work is a leak that started within 60 days of a “brand new roof.” In nearly every case, the deck photos would have shown the problem before it was covered up – except no one took them. That’s the part that stings. Most problems that show up after a roof replacement in Summerlin don’t come from the shingles. They come from what happened underneath them, during installation, when nobody was watching and nobody was documenting. This guide gives you the vocabulary to push back: what to check in the first 90 days, which red flags look minor but aren’t, what a real deck inspection photo set looks like, and how to escalate a warranty claim in Nevada when the installing contractor goes quiet. Read it before you pay the final invoice.
Quick Answer
Most post-installation roof problems trace back to installation errors – not defective materials – and they show up in the first 90 days as leaks at penetrations, lifted flashing edges, exposed fasteners, or inconsistent shingle and tile spacing. Genuinely normal settling is limited to minor granule loss and small hairline cracks in sealant; anything that lets water in is a callback, not “settling.” Document everything with dated photos and a written request, and if the installer won’t respond, Nevada homeowners can escalate through the state contractor board.
Styles & brands we work with
- Architectural shingles
- Metal roofing
- Tile roofing
- GAF
- Owens Corning
- Flat & low-slope
Table of Contents
- The Post-Installation Red Flags Homeowners Miss
- Why New Roofs Leak at Penetrations Almost Exclusively
- What a Proper Deck Inspection Photo Set Looks Like
- The “It’s Just Settling” Response: Normal vs. Deflection
- Summerlin-Specific Installation Problems
- How to Document and Escalate a Warranty Claim in Nevada
- Your 90-Day Homeowner Inspection Checklist
The Post-Installation Red Flags Homeowners Miss
The problems that cause the most damage after a roof replacement are the ones that look like nothing. A lifted flashing edge is an inch of metal you’d walk right past. An exposed fastener on a ridge cap looks like a design choice. Inconsistent tile spacing reads as “handmade character” until the first hard rain finds the wide gap.
Here’s what to actually look at, ideally within the first week and again at 30 and 90 days:
- Lifted flashing edges. Look where the roof meets a wall, chimney, or skylight. Flashing should sit flat and tight against the surface. If you can slide a fingernail under an edge, water can get under it too.
- Exposed fasteners on ridge caps and hip caps. Nails or screws sitting proud of the cap, or driven at an angle, are a slow leak waiting for a wind-driven rain. On a proper install, fasteners are covered or sealed.
- Inconsistent tile spacing. Step back and sight down a row of tiles or shingles. The gaps should be uniform. Wide spots collect water and debris; tight spots crack in heat expansion.
- Granule piles in the gutters. Some granule shed is normal on a new roof. Continuous heavy shedding past 60 days is worth a call.
- Drip edge that doesn’t overhang the gutter. Water should land in the gutter, not behind it. Check this from the ground with binoculars.
- Nail pops or backing out. Run a hand (carefully, from a ladder) along the lower courses. Any fastener head you can feel standing up is a problem.
None of these require you to climb on the roof. Most are visible from a ladder at the eaves or from the ground with a decent pair of binoculars. In our experience doing roof repair in Summerlin, the homeowners who catch these early save themselves a ceiling repair and a fight. The ones who wait until water stains the drywall are looking at a much more expensive conversation.
Why New Roofs Leak at Penetrations Almost Exclusively
Here’s the counterintuitive part: a new roof almost never leaks in the middle of a field of shingles. It leaks where something pokes through the roof. Every pipe boot, every vent stack, every chimney and skylight curb is a hole in the waterproofing, and that’s where installation shortcuts show up.
Walk your own roof perimeter with binoculars and check every penetration:
- Pipe boots. The rubber collar around a plumbing vent should sit flush and wrap the pipe snugly. Look for gaps, cracked rubber, or a boot that looks stretched or undersized. On a new install, a cracked boot is a callback.
- Vent stacks. The flashing around each stack should be layered into the shingles or tile, not just caulked over. Caulk is a patch, not a flashing job.
- Chimney and skylight curbs. Check the cricket (the small angled piece behind a chimney) if there is one, and the counter-flashing where metal meets masonry. Lifted edges here are the most common cause of leaks we see within 60 days of a replacement.
- Valleys. Where two roof planes meet, water volume is highest. The valley metal should be clean, with no exposed fasteners and no debris left behind.
The reason this matters so much in Summerlin is the monsoon pattern. We don’t get gentle all-day rain; we get a wall of water in 20 minutes. A minor flashing gap that would stay dry through a drizzle elsewhere becomes a leak here the first time a summer storm parks over the valley. A new Summerlin roof that was tight in April can start dripping in July. It’s not the shingle’s fault. It was never the shingle’s fault.
If any penetration looks questionable, don’t wait for the drywall to tell you. Get it looked at. A roof replacement and installation in Summerlin done right should not be leaking at its first rainy season.
What a Proper Deck Inspection Photo Set Looks Like
Before the new roof goes on, the old one comes off, and the deck (the plywood or OSB underneath) is exposed. This is your one chance to see what’s actually holding up your roof. If the contractor doesn’t photograph it, you’re buying a roof on trust.
Ask for the deck photos before final payment. On any replacement, a proper photo set includes:
- Wide shots of each roof plane with the old material stripped, showing overall deck condition.
- Close-ups of any rotten or delaminated sheathing with the replacement panels marked and photographed, so you can see what was removed and what went in.
- Photos of the flashing at every penetration before the new material covers it.
- Decking fastener and panel thickness visible – you should be able to see the panel edges in the shots.
- A dated photo of the finished deck before underlayment goes down.
Why does this matter? Because deck problems are invisible once the shingles are on, and they’re the number-one thing a contractor can hide. Rotten sheathing left in place will sag, pull fasteners, and open gaps within a few seasons. If your contractor “doesn’t take photos” or says “we don’t do that,” that’s your answer about what you can expect on the warranty too.
At Shepherd & Sons we show you the deck photos before we talk money. It’s the single best way we’ve found to show a homeowner what they’re actually paying for, and it’s the reason we tell anyone bidding a replacement to demand the same. A good roof is measured in squares – ask any bidder how many they counted, and whether they photographed the deck they counted them on.
The “It’s Just Settling” Response: Normal vs. Deflection
Some movement after a new roof is real. The trouble is that “it’s just settling” gets used to wave off things that have nothing to do with settling. Here’s how to tell them apart.
Genuinely normal after installation:
- Light granule loss in the first few months, especially from GAF, CertainTeed, or Owens Corning shingles as they shed loose surface granules.
- Minor hairline cracks in sealant at flashings, which the installer should touch up on a callback.
- Slight creaking or popping the first few times the roof heats and cools.
Deflection dressed up as normal:
- Any active leak at a penetration. That’s a flashing problem, not settling.
- Fasteners backing out or standing proud. Gravity and settling don’t drive nails upward.
- Lifted flashing edges you can slide a fingertip under.
- Tiles or shingles visibly out of alignment, or gaps that have widened since install.
- “Give it a season, it’ll seal itself” – on a properly installed roof, sealant and flashing are correct at completion.
Here’s the line: settling doesn’t let water in. If water is coming in, it’s not settling. If a contractor tells you it is, that’s deflection, and it’s worth getting a second opinion before you accept it. A written second opinion on any estimate is free at Shepherd & Sons – we’re happy to look.
Summerlin-Specific Installation Problems
Summerlin roofs work hard. The sun load here is brutal, and the temperature swing between a July afternoon and a July night is bigger than most of the country deals with over a whole season. That swing causes materials to expand and contract every day, and installation errors that would sit quietly in a milder climate start showing up fast.
What we see most often on Summerlin roofs that were installed by other companies:
- Underdriven or overdriven nails. Overdriven nails crush the shingle and void the wind rating; underdriven nails leave the head proud and the shingle loose. The nailing pattern earns the wind rating, not the shingle wrapper. When the wrapper says a shingle is rated for 110 mph, the rating assumes the nails went in correctly. A GAF or CertainTeed shingle nailed wrong is just an expensive shingle.
- Insufficient attic ventilation. Nevada’s heat cooks an under-ventilated attic, and that trapped heat shortens shingle life and warps decking. A lot of replacements skip the ventilation assessment because it costs extra time. On a Summerlin roof it’s not optional.
- Tile underlayment shortcuts. On tile roofs, the underlayment is the real waterproof layer; the tile is the rain screen. We see underlayment skipped or improperly lapped, and the tile looks perfect until a monsoon finds the gap.
- Flashing at stucco walls. Summerlin’s stucco walls and tile roofs meet at tricky transitions. Flashing that isn’t properly integrated at the stucco is a common leak source.
- Debris left in valleys and gutters. Especially after a replacement, leftover nails, wrappers, and cut material collect in the valleys and gutters. That’s a slow leak and a clogged drain waiting to happen.
If you’re comparing bids on a Summerlin roof, ask specifically how the contractor handles ventilation and underlayment. The answer tells you more than the price. For a closer look at how these issues show up on a metal system, see our page on metal roofing in Summerlin, where the fastener and flashing details matter even more.
How to Document and Escalate a Warranty Claim in Nevada
If your installing contractor won’t respond to a legitimate post-installation problem, you have more leverage than you think. The trick is documentation. Build the file before you call anyone.
- Photograph everything, dated. Take wide shots and close-ups of the problem area. Use your phone’s timestamp – it’s admissible and it proves the condition and the date.
- Write it down. Send a written request to the contractor describing the issue, the date first noticed, and what you want fixed. Email or text is better than a phone call because it’s a record.
- Give a reasonable deadline. State in writing that you expect a response within a set number of days. Keep a copy.
- Save the contract, the estimate, the invoices, and the warranty document. The warranty language is the entire argument – read what it actually covers before you escalate.
- File a complaint with the Nevada State Contractors Board (NSCB). The NSCB is the state agency that licenses and regulates roofing contractors in Nevada. A complaint can be filed online or by phone, and it triggers a formal process. This is where documentation pays off: the better your file, the faster the board can act.
- Consider a free second opinion in writing. A second local roofer’s written assessment of what went wrong is powerful evidence in an NSCB complaint. Ours costs nothing.
The key thing to understand: an NSCB complaint isn’t a lawsuit, and you don’t need a lawyer to file it. It’s a consumer protection process built for exactly this situation. But it only works if you kept the records.
Your 90-Day Homeowner Inspection Checklist
Here’s a simple schedule to protect yourself during the first three months after a replacement. None of it requires you on the roof.
- Week 1: Walk the perimeter with binoculars and check every penetration, ridge cap, and flashing edge. Look for debris left in the gutters. Photograph everything.
- Day 30: Check the attic (if accessible) for any daylight or water staining after a rain. Look at ceilings in rooms below the roof.
- Day 60: Re-check the flashings and ridge caps. Note any changes from your week-1 photos. A side-by-side comparison shows whether something moved.
- Day 90: Final walkaround and a written summary of anything wrong, sent to the contractor before the warranty window closes off your leverage. This is also when you’d ask for the deck photos if you never got them.
Common Mistakes to Avoid
- Paying the final invoice before seeing deck photos. The final payment is your last real leverage. Once it’s paid, the contractor’s incentive to fix anything drops. Get the photo set before you write that check.
- Accepting “it’s just settling” without a written explanation. If a contractor tells you a leak is normal, ask them to put that in writing. Most won’t, and the ones who will just gave you a warranty claim.
- Not photographing the roof right after install. Your week-one photos are the baseline everything else gets compared against. Skip them and you can’t prove something changed.
- Skipping the ventilation question. In Summerlin, an under-ventilated attic shortens the life of even a perfectly installed GAF or Owens Corning shingle. Ask how the ventilation was sized.
- Trusting a phone quote. One price on the phone and another at the door is the oldest trick in the book. Get it in writing, line-item, before anyone climbs a ladder.
- Calling a storm chaser back after a storm. The contractor who installed the roof is the one accountable, and the one who will still be here next year. Same address since 1996. Ask the storm chasers where theirs is.
- Ignoring small cracks in the summer heat. A hairline sealant crack in July is a leak in August. Small fixes now are cheap. Ceiling repairs are not.
See the difference
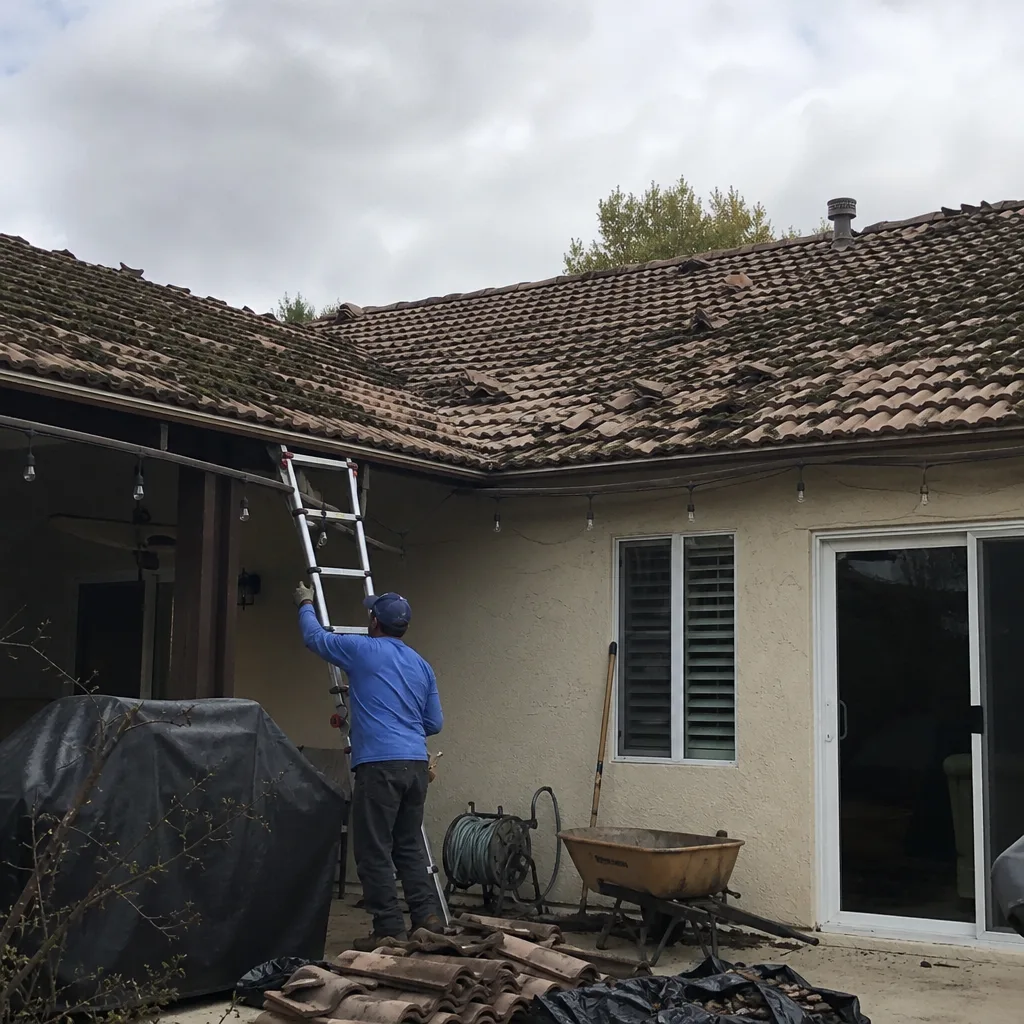 Before
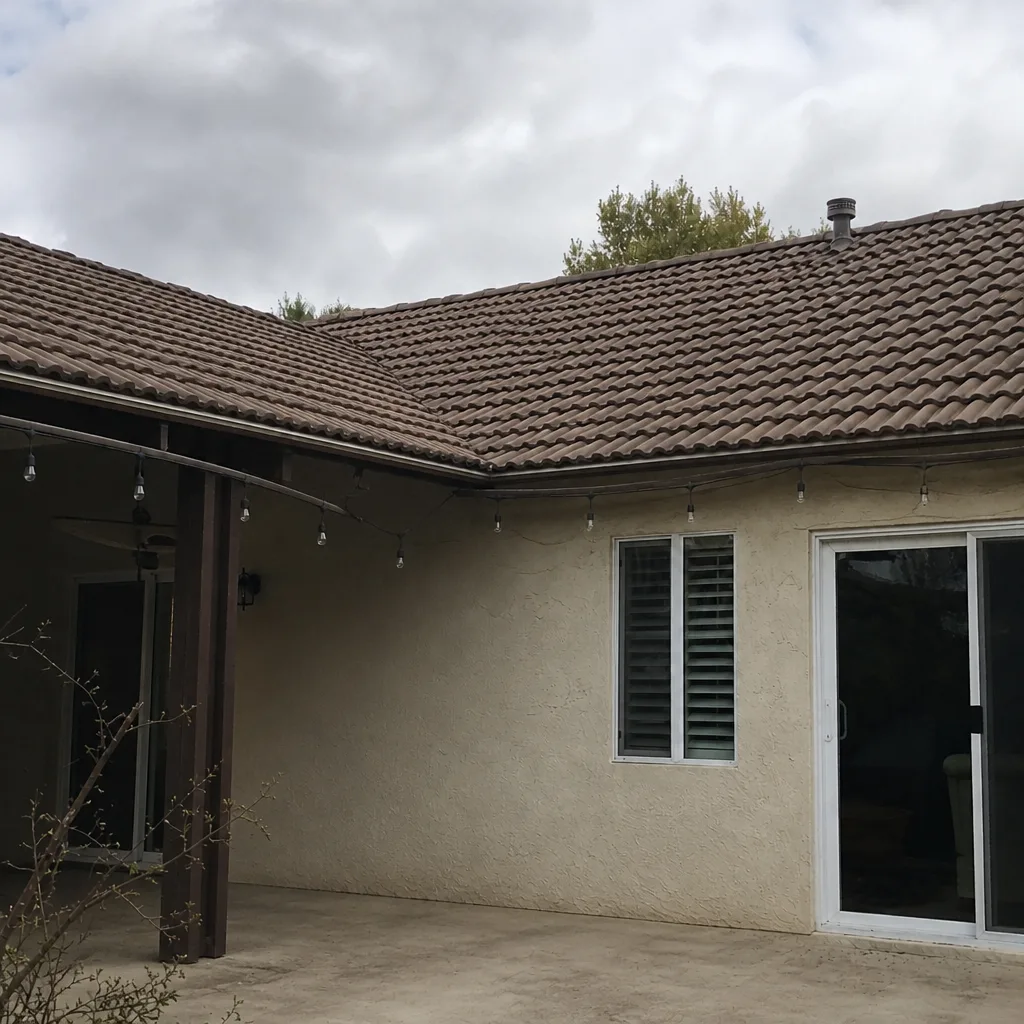 After
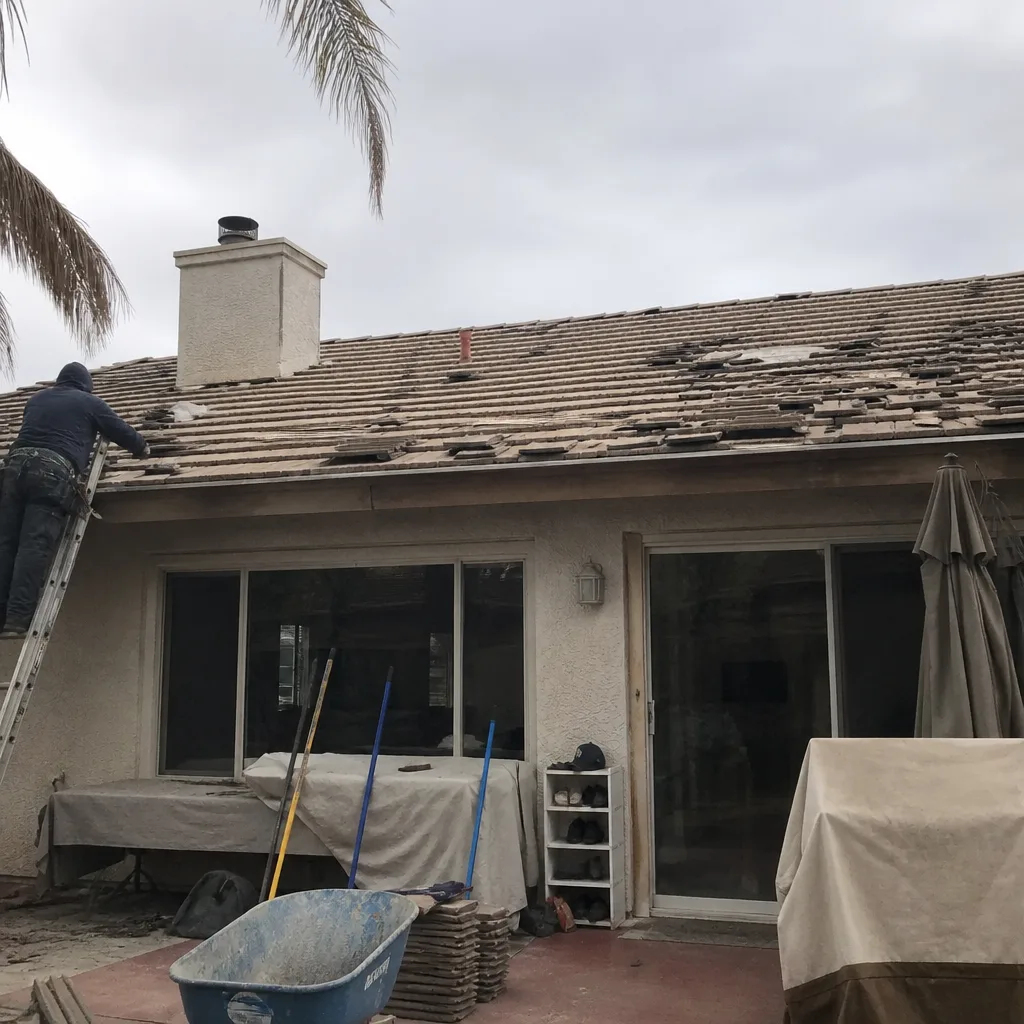 Before
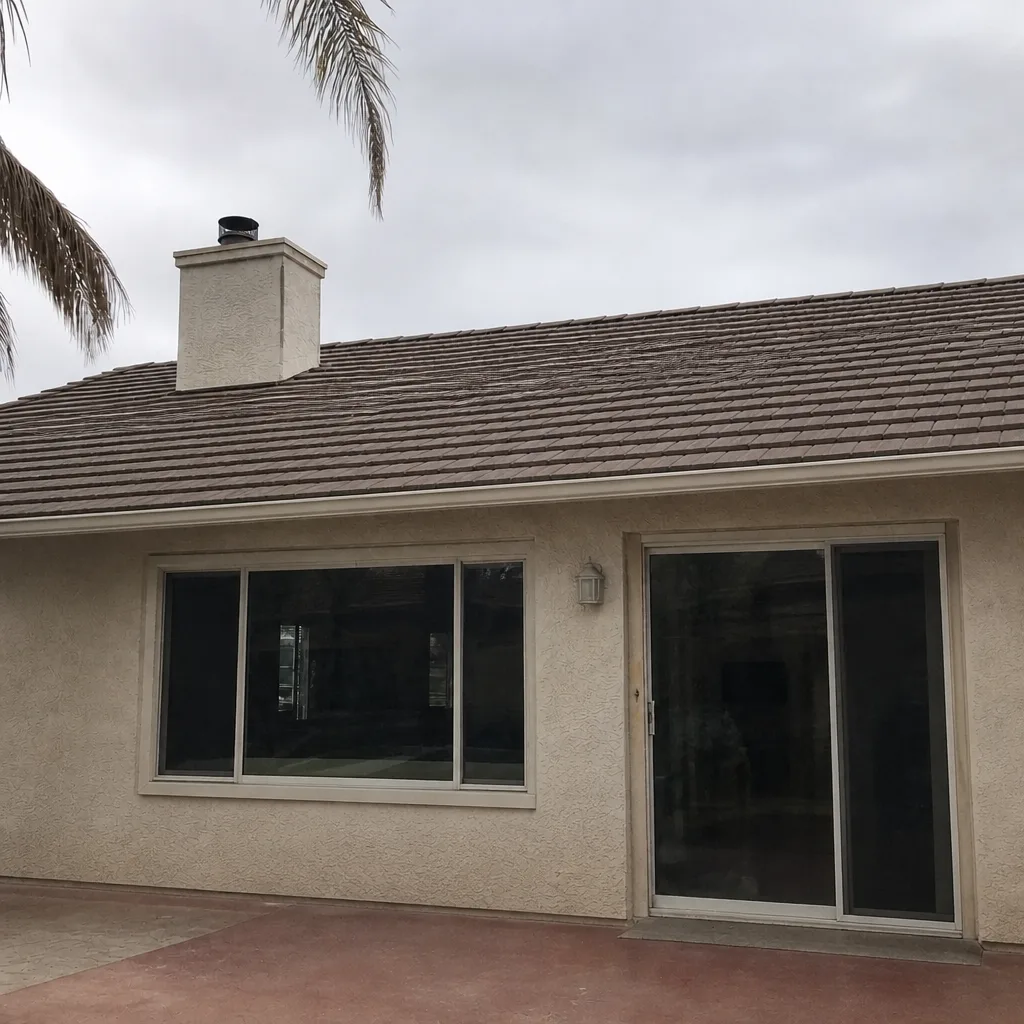 After
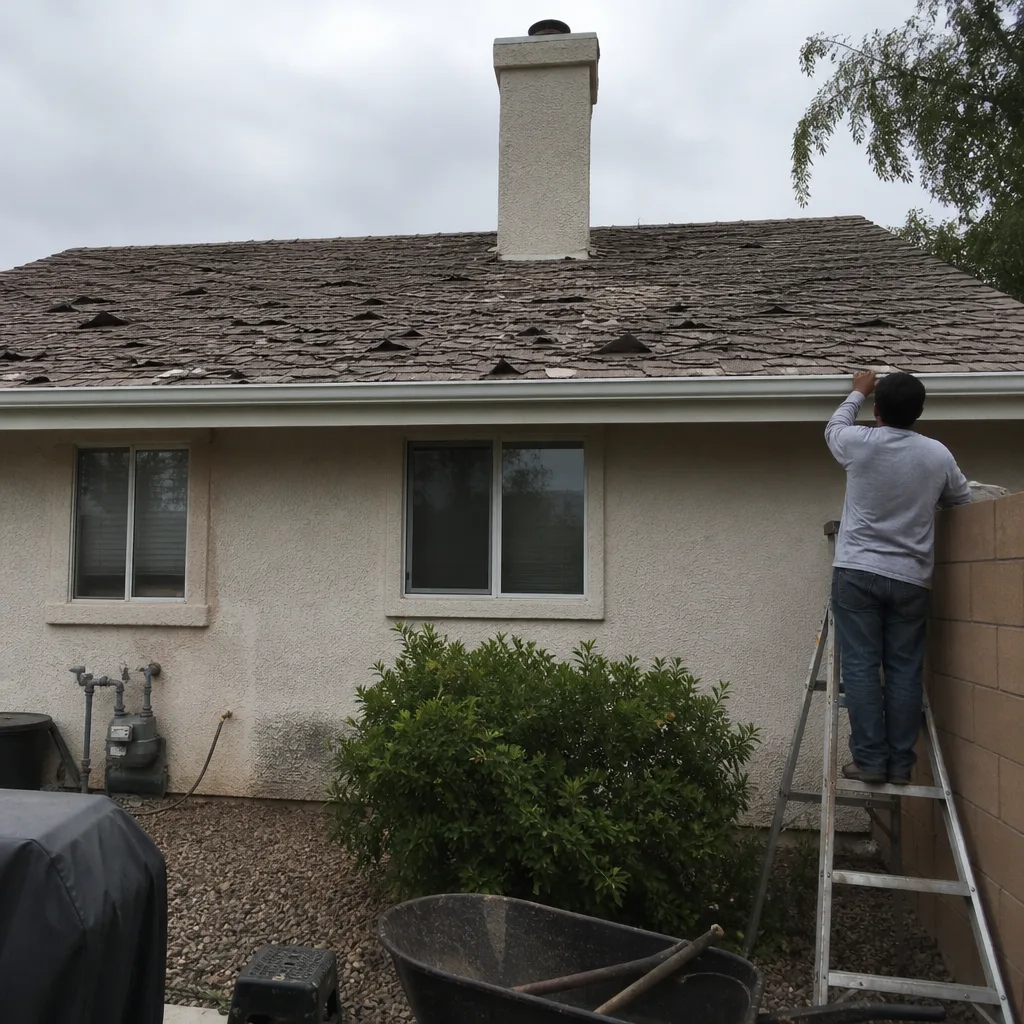 Before
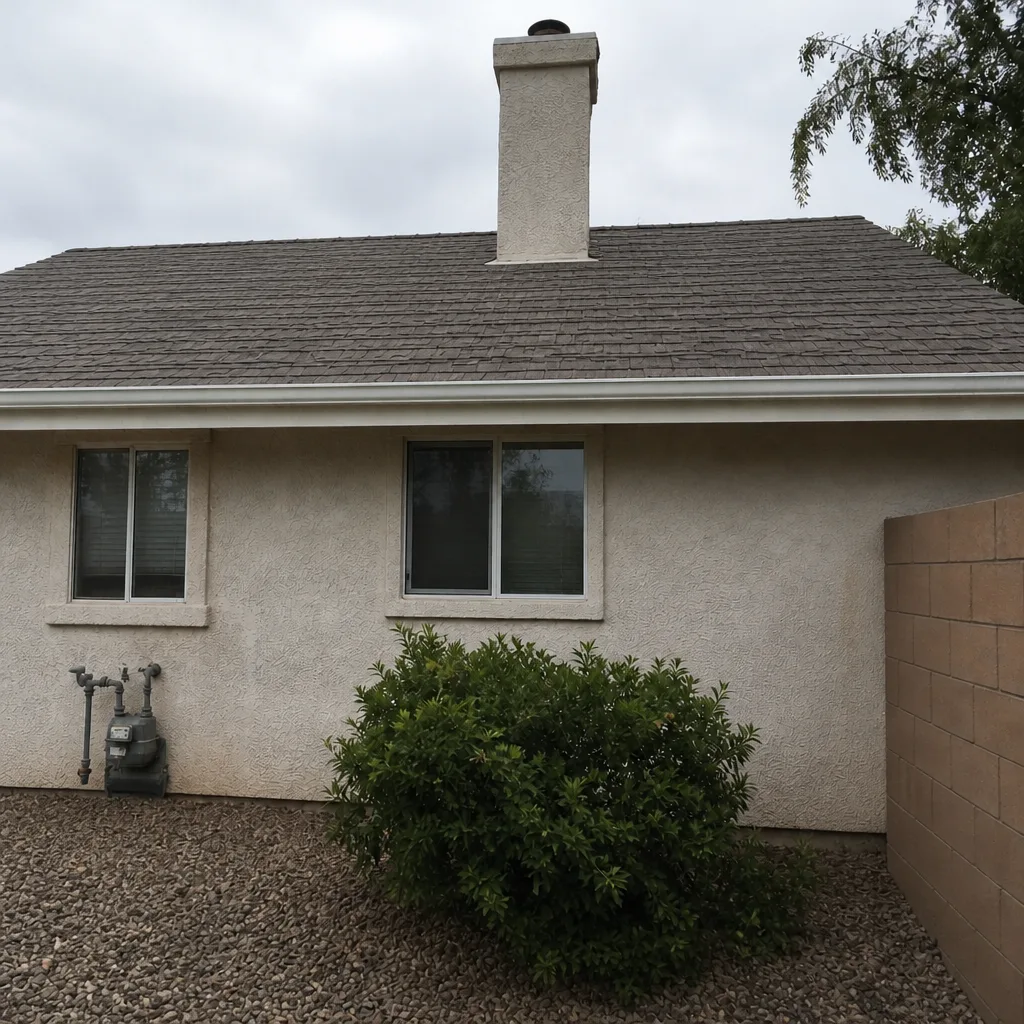 After
When to Call a Professional
Some things you should never investigate on the roof yourself. Walking a tile or shingle roof, especially on a Summerlin slope with afternoon heat and afternoon winds, is a fall risk, and a fall from roof height is serious. If anything on this page caught your eye – a lifted flashing edge, a leak stain, a fastening that looks wrong, a contractor who won’t answer after a replacement – call a licensed roofer. You want someone trained and insured up there, not a ladder and a homeowner.
Shepherd & Sons Roofing Summerlin offers free estimates in Summerlin and a free second opinion on any written estimate. Our technicians have up to 30 years of experience, we install products from GAF, CertainTeed, Owens Corning, IKO, Atlas, Tamko, and Boral, and every job is backed by our written 90-Day Done Right Promise. Call (844) 951-4545 to schedule – a live person answers, day or night.
Frequently Asked Questions
Most installation-related problems show up within the first 90 days, often after the first heavy rain. That’s why 90 days is the window we watch most closely, and why the written 90-Day Done Right Promise exists: if something goes wrong, one call brings us back. Call (844) 951-4545 for a free inspection – estimates are free.
No. A properly installed roof should not leak at its first rainy season. New-roof leaks almost always trace back to a penetration – a pipe boot, vent stack, chimney, or skylight curb – where the flashing was done wrong, not to a defective shingle. If your new roof leaks, it’s a callback, not a settling issue.
Lifted flashing edges, exposed fasteners on ridge caps, inconsistent shingle or tile spacing, granule piles that don’t stop past 60 days, and drip edge that doesn’t overhang the gutter. In Summerlin, also watch for debris in valleys and gutters after the crew leaves – a clogged valley is a leak waiting for the first monsoon.
Ask them to put that in writing, and get a free second opinion from another licensed local roofer. Settling doesn’t let water in – showing up as an active leak means it’s a flashing or installation problem, and “settling” is often a deflection tactic. A written second opinion is free from Shepherd & Sons; call (844) 951-4545.
Document everything with dated photos and a written request, give the contractor a reasonable deadline to respond, and if they don’t, file a complaint with the Nevada State Contractors Board (NSCB). The NSCB licenses and regulates roofing contractors in Nevada and runs a formal complaint process. A written second opinion from another local roofer is strong supporting evidence – ours is free.
A proper deck photo set includes wide shots of each roof plane with the old material stripped, close-ups of any rotten or delaminated sheathing and the replacement panels, photos of flashing at every penetration before cover, and a dated shot of the deck before underlayment. Ask for it before final payment on any replacement.
The Bottom Line
The problems that show up after a roof replacement almost always started during installation, in the deck and the flashings and the nail pattern – not the shingle on top. Demand the deck photos before you pay. Watch the penetrations in the first rainy season. Know the difference between real settling and deflection, and if your contractor won’t answer, document it and escalate through the NSCB. Summerlin roofs deal with heat and monsoon volume that punish install shortcuts, so the vocabulary to push back is worth having before you need it. If you’re in Summerlin and want a straight answer about your roof, call (844) 951-4545 for a free estimate. A live person answers, and the free Second Opinion on any written estimate costs nothing. You can also start at our Shepherd & Sons Roofing Summerlin home page.
Written by the team at Shepherd & Sons Roofing Summerlin.